Garden orb of modest materials
Many of us have seen these bowling ball spheres in the garden shown on our FMG Facebook page, but recently after finding a bowling ball at our town of Oakhurst’s “Clutter Clearance,” I decided to try decorating one! I was inspired by an example picture found online in Google images, bought some bags of ‘gems’ at Michael’s used for filling vases to hold stems straight. I was all set!
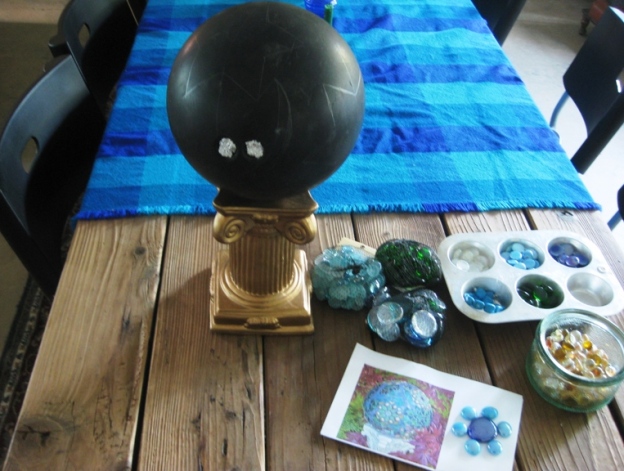
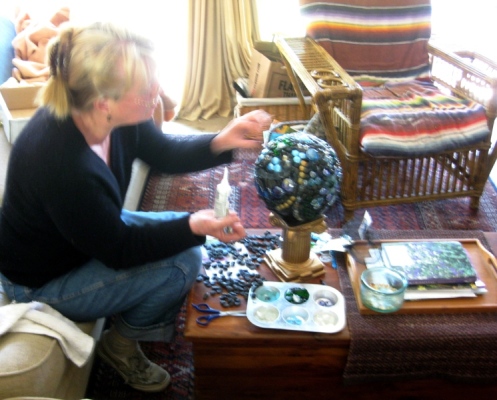
First the materials were gathered, 5 or 6 bags of ‘gems’, stones or tiles and 2 tubes of G.E. Silicone II for outdoors, in clear.
How to decorate a garden bowling ball
- Start with a clean and prepped bowling ball. Use rubbing alcohol or vinegar to get any wax finish off.
- It helps to print out a photo of a design you like from Google images, shown.
- Sand lightly, then wash and dry the ball before painting.
- I filled the two smaller holes with tin foil and just glued right over them. Leave one hole uncovered and positioned at the bottom so if you want you can set it onto a piece of rebar in the garden.
- I used 5 0r 6 bags of ‘gems’, shown, and 2 tubes of G.E. Silicone II for outdoors, in clear.
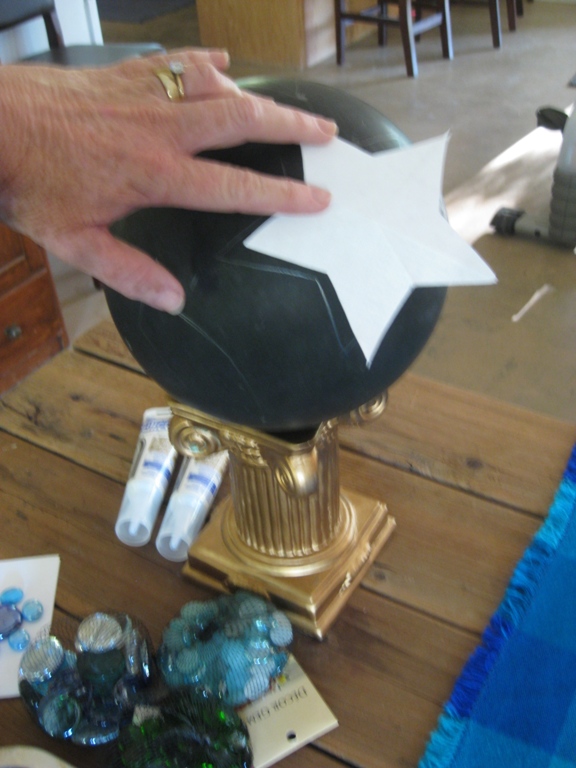
With pencil I marked the top, opposite the largest hole and cut a five pointed star for a design to fill in
I used pencil to mark a dot on the top, opposite the hole I left unfilled. Then I drew freehand lines vertically to mark four sections, then used a paper cut-out of a star to trace around as a starting point.
How to cut a five-pointed star in one snip
This link comes straight from Girl Scouts and is a really neat trick.
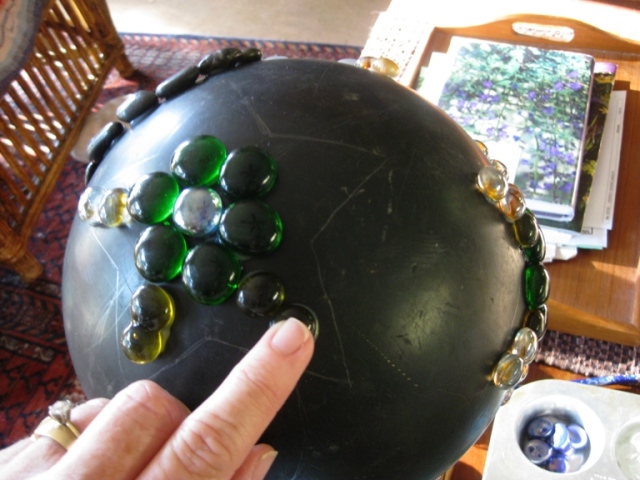
I placed the ball on a pedestal. You could also use a folded towel. After drawing the shape on the ball in four places, one on each side, I started gluing the gem’s on.
With gravity working, it’s easier to work at the top. the gems or stones set quickly.
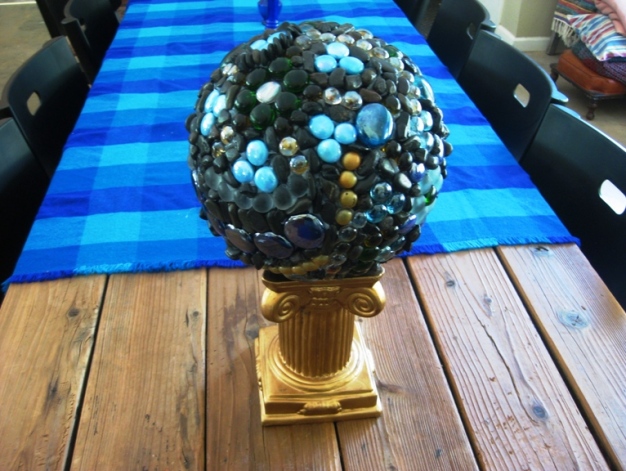
Inside, my bowling ball or now a garden orb, looked darker than I expected. I could have painted the ball a light color with paint to reflect more light and might do that next time.
Where to get bowling balls to decorate?
Our gang says try yard sales, thrift shops, ask friends or the direct approach, ask at bowling alleys for BB they can’t use any longer. Try this,…it’s super fun!
Update: This pedestal didn’t last long, being made of plastic and collapsed under ‘pressure.’ Those bowling balls are heavy! I later found a better spot for it, which I wrote about here, A place for the bowling ball garden orb. ~~ Sue



7 Comments
Sue, you know I enjoy flea market gardening so very much! Wonderful ideas always. I have a bowling ball that I covered in the flat marbles, but I pinned your project the day that this tut came out w/your blog. I have had almost 30 people repin from my pin….so you are doing something so very right & creative! Keep up the good work!
~MaryDee
Always fun to have an ‘original’ of something you’ve put tog …in your garden … my BB creation is wrapped with old rope from a hay mow …you created a real ‘gem’ for your gardens & it looks lovely there! TFS!
Cuuute!!!!
I have had one of these that I made years ago – done with the glass beads and small pieces of mirror to give off that shiny look when the sun shines on it….Used super glue and have never lost any pieces from it and it has lasted for years…..beautiful addition to my garden
I was taught to use a mason jar ring to set the bowling ball on to while working on it. Works as a good stabilizer.
I’m curious. Was the bowling ball with the nail polish drizzled on it painted first? With exterior paint?
Hi Joann, no I didn’t paint my bowling ball before gluing on the beads,…but you sure could.